BloodHound Part I
security tools windows ADEstimated reading time: 3 minutes
What is BloodHound?
BloodHound is a single page Javascript web application, built on top of Linkurious, compiled with Electron, with a Neo4j database fed by a PowerShell ingestor.
BloodHound uses graph theory to reveal the hidden and often unintended relationships within an Active Directory environment. Attackers can use BloodHound to easily identify highly complex attack paths that would otherwise be impossible to quickly identify. Defenders can use BloodHound to identify and eliminate those same attack paths. Both blue and red teams can use BloodHound to easily gain a deeper understanding of privilege relationships in an Active Directory environment.1
Setting up the database
BloodHound can be installed through the Kali Linux repository or downloaded as standalone binary from the BloodHound GitHub repository.
To get it through Kali, just type:
$ sudo apt install bloodhound
Before we can start using BloodHound, we need to setup the neo4j database first. If not done already, we need to start the service and do the initial configuration (which is mainly setting a new password). Important (!) neo4j needs to be started with root privileges, either via sudo or as root user itself:
$ sudo neo4j console
Active database: graph.db
Directories in use:
  home:         /usr/share/neo4j
  config:       /usr/share/neo4j/conf
  logs:         /usr/share/neo4j/logs
  plugins:      /usr/share/neo4j/plugins
  import:       /usr/share/neo4j/import
  data:         /usr/share/neo4j/data
  certificates: /usr/share/neo4j/certificates
  run:          /usr/share/neo4j/run
Starting Neo4j.
WARNING: Max 1024 open files allowed, minimum of 40000 recommended. See the Neo4j manual.
2021-03-20 08:14:46.354+0000 INFO  ======== Neo4j 3.5.3 ========
2021-03-20 08:14:46.365+0000 INFO  Starting...
2021-03-20 08:14:48.579+0000 INFO  Bolt enabled on 127.0.0.1:7687.
2021-03-20 08:14:50.098+0000 INFO  Started.
2021-03-20 08:14:50.986+0000 INFO  Remote interface available at http://localhost:7474/
After initialization, the remote interface is active on localhost:7474.
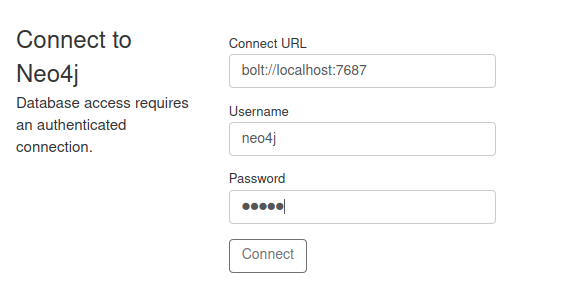
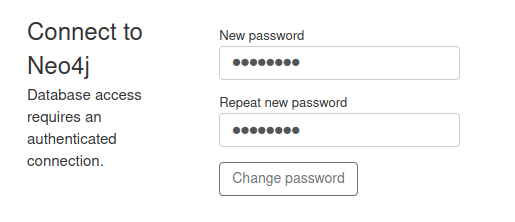
The username is neo4j the password to connect to the service is also neo4j. After connecting, we are prompted to change our initial password to a new one.
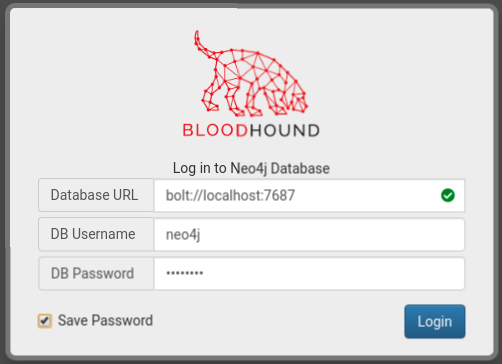
If the password is changed, we can now connect to the database with BloodHound on localhost:7687
Importing data
Bloodhound is a tool for visualizing data, containing Active Directory object relationships and permissions. Without this data, BloodHound isn’t usefull at all. So in order to use BloodHounds full potential, we need to enumerate our target domain with a tool called SharpHound2. Important: To use SharpHound we need a Windows machine with valid credentials!
(There is also a python based linux ingestor called bloodhound.py)3
SharpHound can be run as .exe or Powershell script (.ps1) :
PS > .\SharpHound.ps1 Invoke-BloodHound -CollectionMethod All
After running it produces JSON files as a result, which contain the relationships and permissions of our target domain. Note that if no destination is specified, our JSON files will be saved in the directory we are currently using. So to stay organized, we should specify a destination where our files should be written:
PS > .\SharpHound.ps1 Invoke-BloodHound -CollectionMethod All -JSONFolder "c:\<PATH>"
NOTE: After successfully executing SharpHound, it will generate our JSON files, but they are zipped. This .zip file is needed for BloodHound. To import our data we just need to drag and drop the .zip file into BloodHound itself. From my experience, trying to import the data, via the import menu, often results in errors.
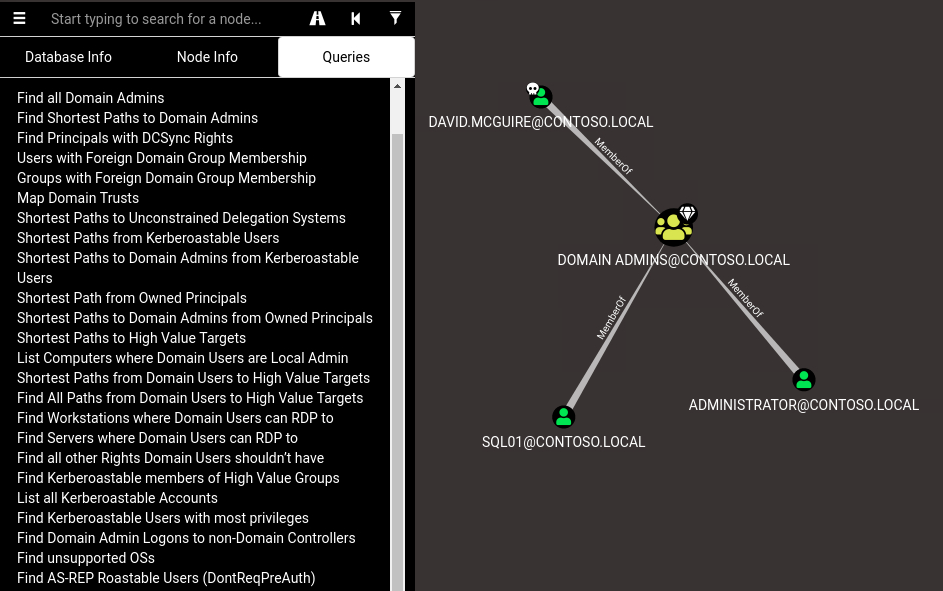
Once we imported our data into BloodHound, we will be able to see permissions and object relations of our target domain.
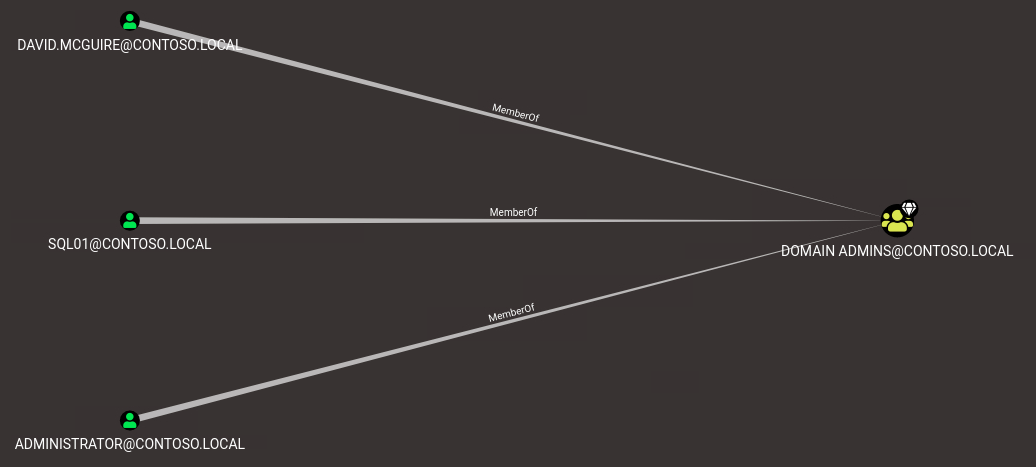
BloodHound also has built-in queries like: “Find Shortest Paths to Domain Admins” which help identifying high-value targets and missconfigurations real quick.
Part II will consist of a more detailed description on BloodHounds built-in queries and how to use them to escalate further privileges.